Pastry chefs, baking, cake decorating… those words are so foreign to me- unless it involves searing a beautiful rack of lamb and then baking it to juicy perfection.
When I think of pastry chefs, I think precision; a bright white, wrinkle-free, double-breasted chef jacket that seems to never get dirty, fondant cut into floral shapes and carefully spray painted to depict Orchids and Lilies, an oval shaped spoon of freshly churned ice cream served with pretty pâtisseries. Hardcore perfectionists, that’s what I think of.
This weekend was my very dear friend’s birthday, so instead of buying a cake, I wanted to make something special for her; I wanted to make her a cake myself. Having never done this before, I have to give a big shout out to my homie Duncan Hines for making this happen, couldn’t do it without you man.
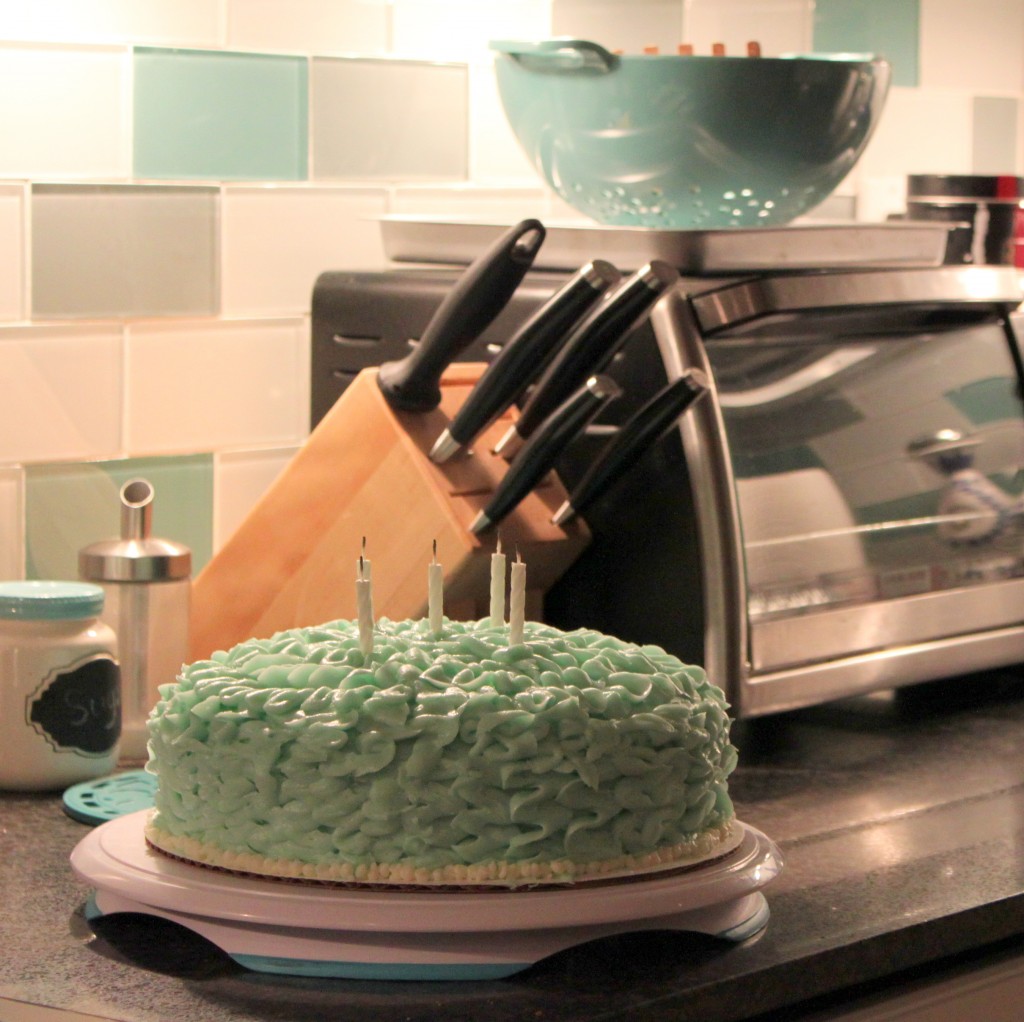
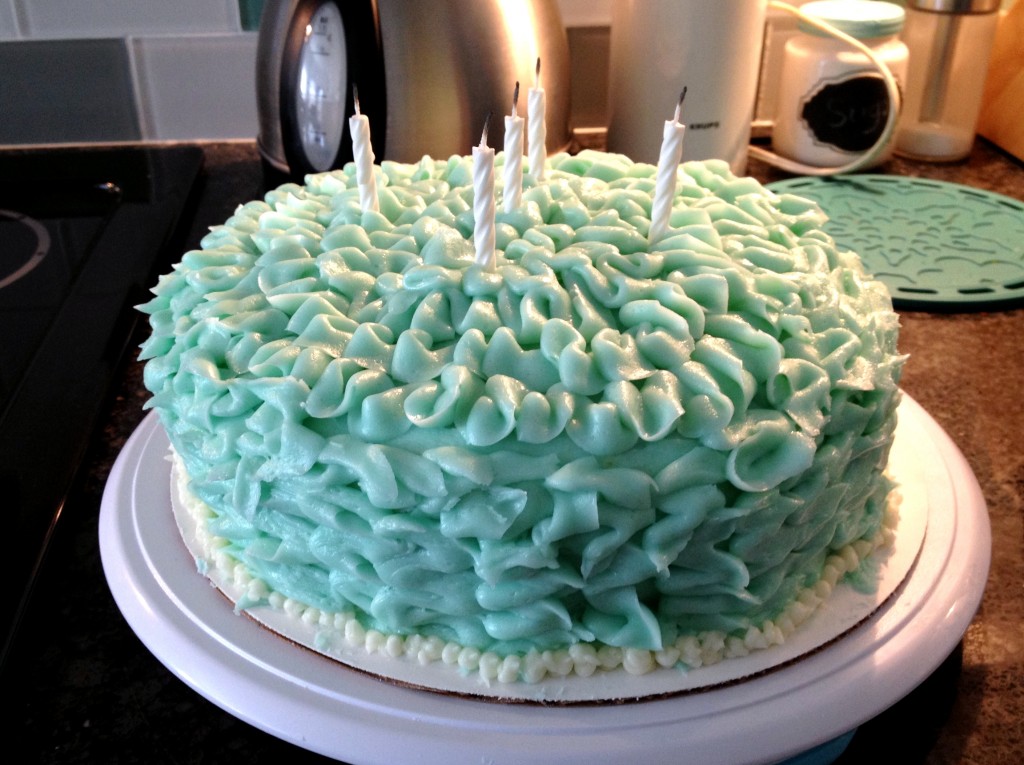
I learned a lot of things the hard way with this dessert- it was supposed to be covered in roses but ended up in ruffles. In the end, I am really proud of my creation and collaboration with Duncan Hines. More importantly, my friend loved it so that took the cake. ZING! (…)
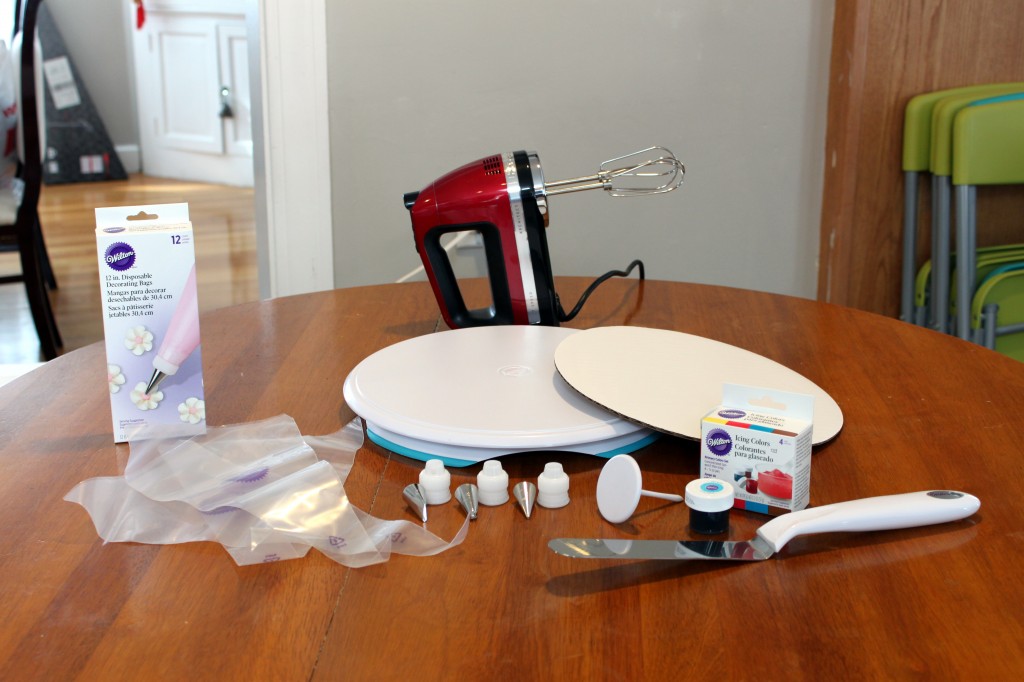
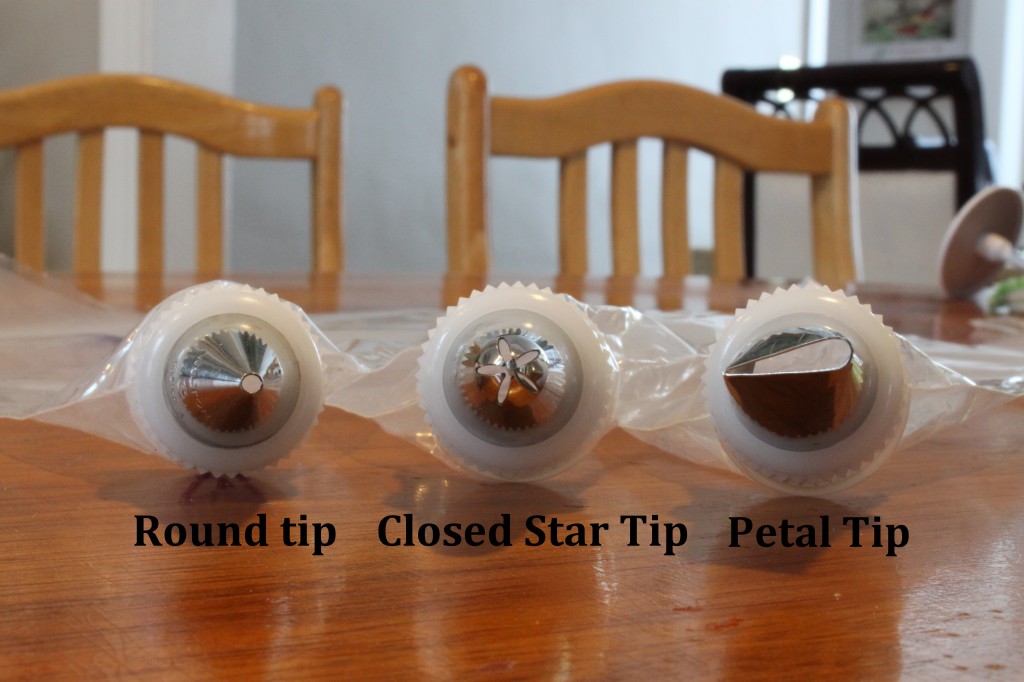
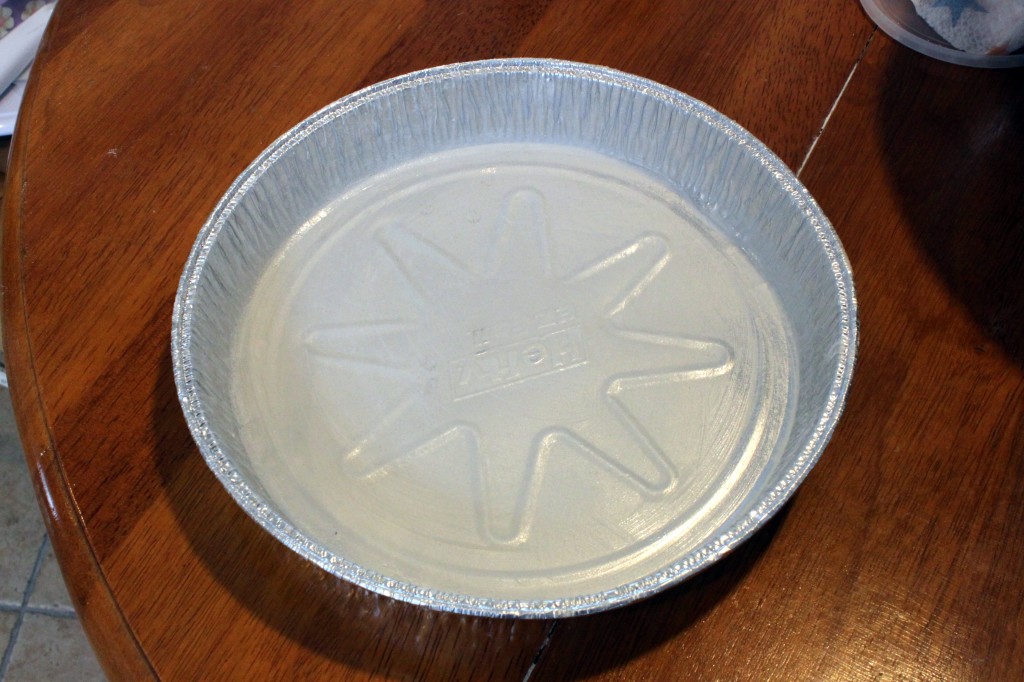
I will gladly share with you my failures and provide shortcuts and pointers to all the newbies like me out there. But before you even think about starting, you need to plan what kind of colors/decorations you will need and have the proper tools for them: Mixer (doing this by hand will take you forever- I borrowed an electric mixer from my sister), decorating bags (I bought disposable ones), cake turntable, food coloring (I used gel coloring, you can use any other ones), angled spatula, three decorating tips (I used a rose/petal tip, small round tip and a closed star tip), three coupler and screws for the pastry bag, a cardboard cake circle, and cake pans (i used 3, 8.25 inch circle pans). I know, it’s a lot but it will be worth it if you plan on decorating cakes in the future. This all cost me around $60 from Michael’s arts and crafts store. (Ignore the white flower nail, my flower decorations melted with sadness and despair).
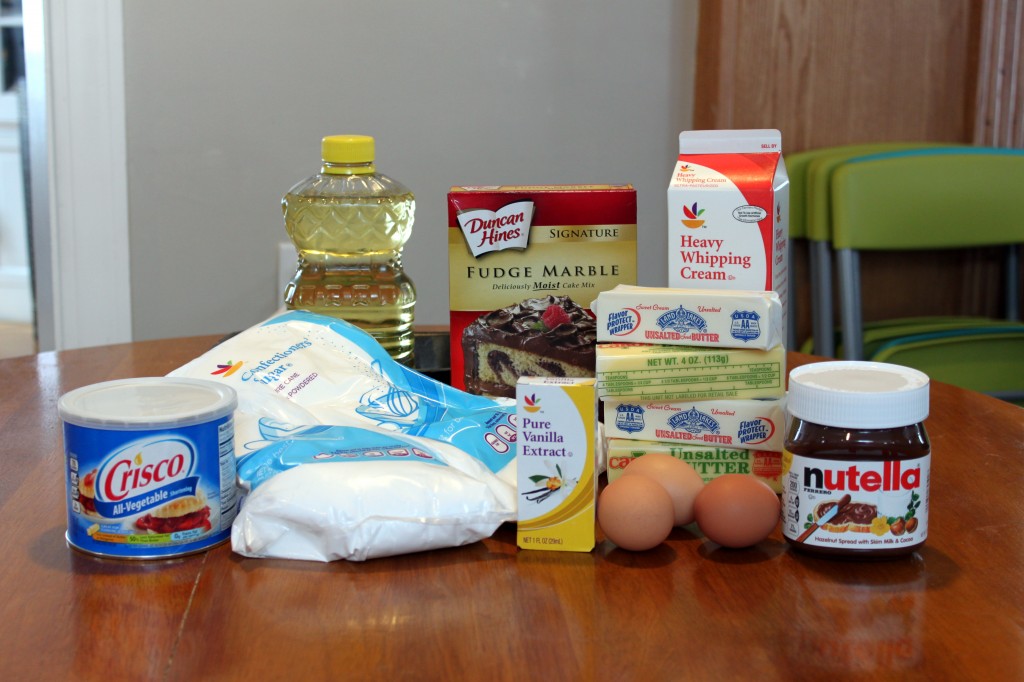
Second, ingredients:
Cake:
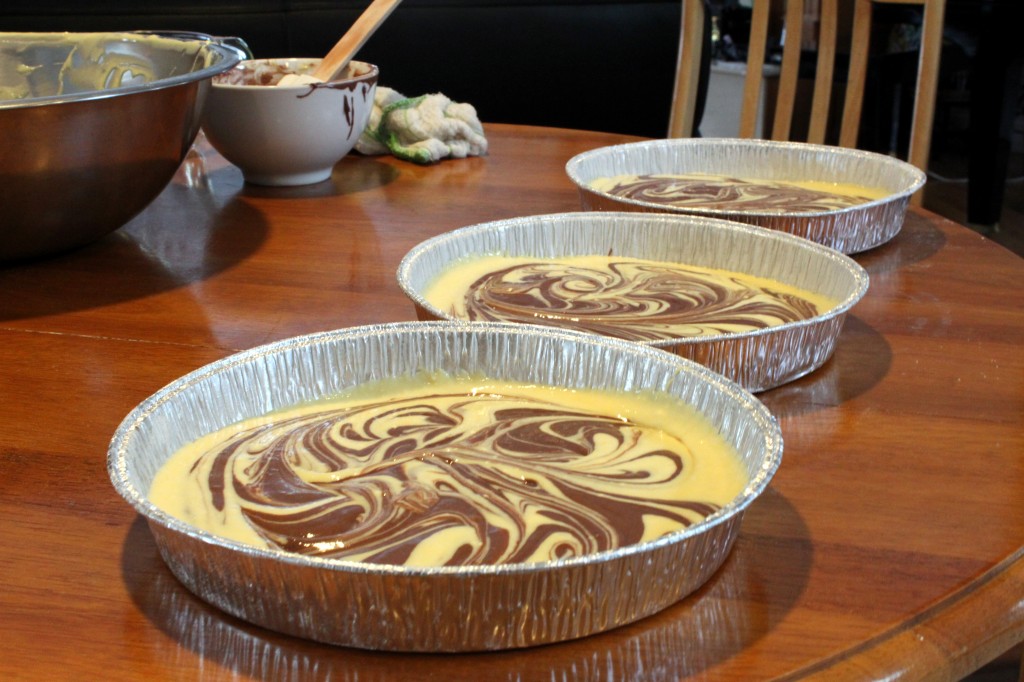
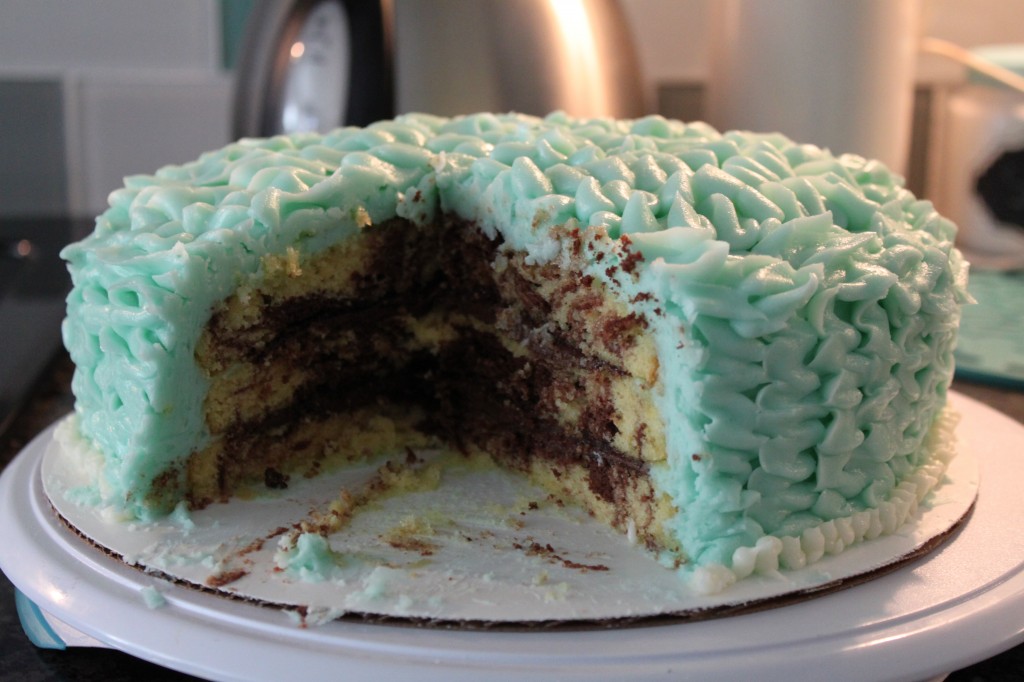
Cake mix of your choice and its ingredients (Duncan Hines’ Fudge Marble, 1/3 cup vegetable oil, 3 eggs, 1.25 cups water)
Buttercream Frosting:
4 sticks unsalted butter, softened
4 tbs shortening (Crisco)
8-10 tbs heavy cream, cream or milk
2 bags confectioners sugar (64 oz)
1 tbs vanilla extract
Nutella, small container
Flour (to flour your cake pans)
Preheat oven to temperature on cake mix direction and prep your cake pans by greasing it with shortening and dust it with flour.
Fill them up with your prepared cake mix and put them in your preheated oven to bake.
While you are waiting for the cakes to bake, start making your Buttercream Frosting by mixing all of the softened butter until it is whipped and airy. It takes about 3 minutes.
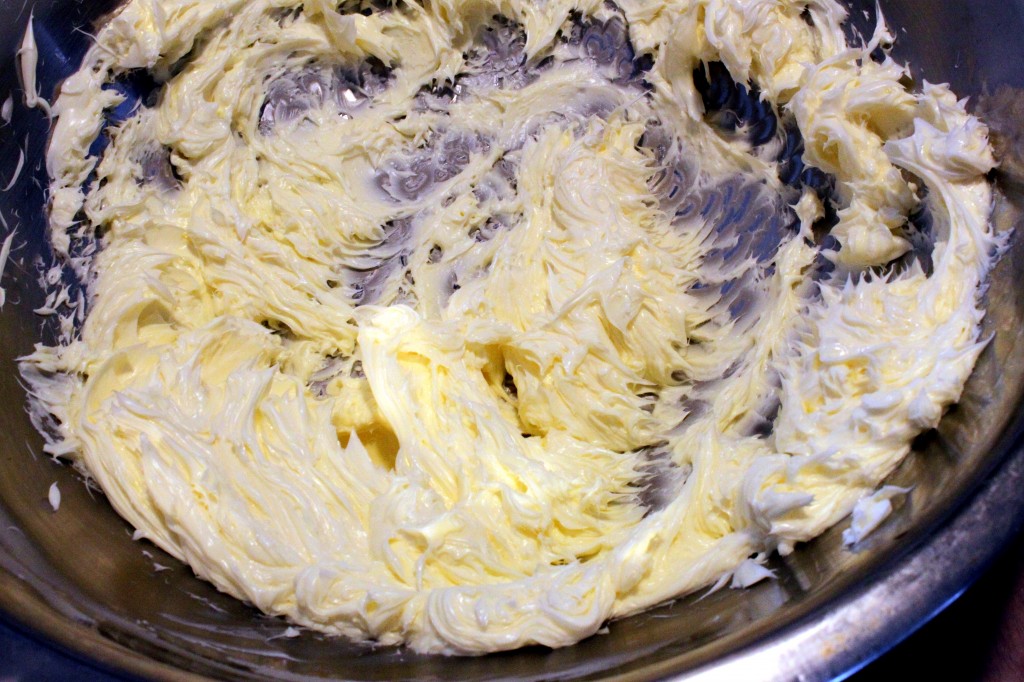 When your butter is whipped, add shortening and then add confectioners sugar slowly. If it is dry, add some heavy cream slowly, spoon by spoon, until you have a stiff but smooth consistency.
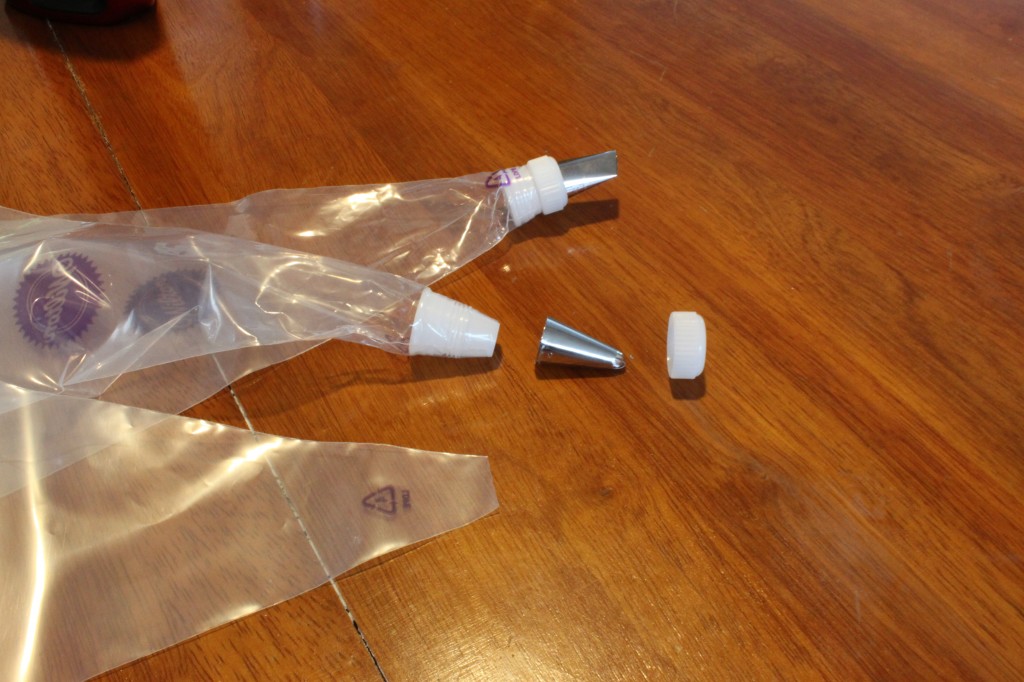
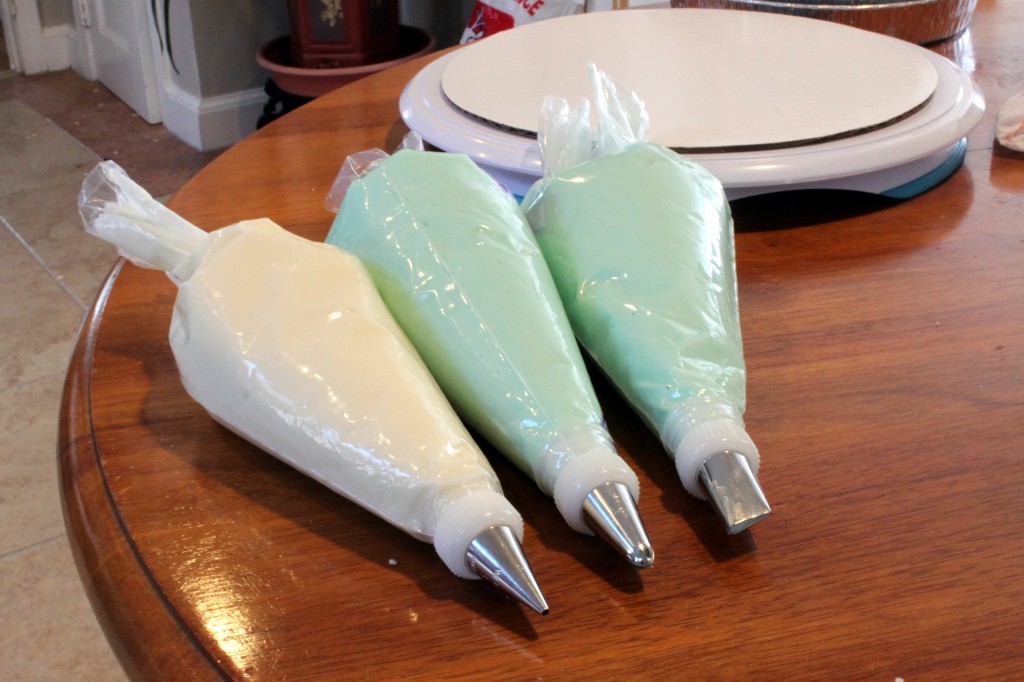
When your icing is all finished except for the color, you can start prepping your pastry bags (this picture shows you from the bottom up for how to do this: 1) cut tip of bag large enough to place coupler inside 2) put tip over the bag that is over the coupler 3) use the screw to hold it all together):
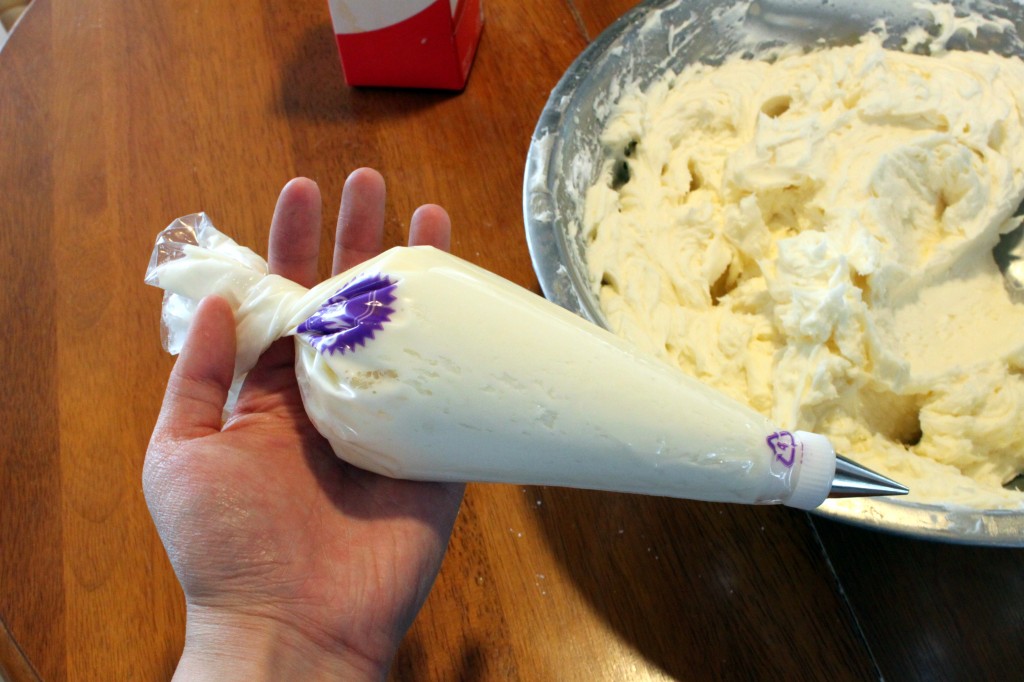
Before adding color to the icing, I knew I would want a white border of some sort so I filled my prepared round tip pastry bag first. Lesson learned: Do not fill your pastry bag so full like I did, fill it half way or less or else you will have to use a lot of force to get the icing out.
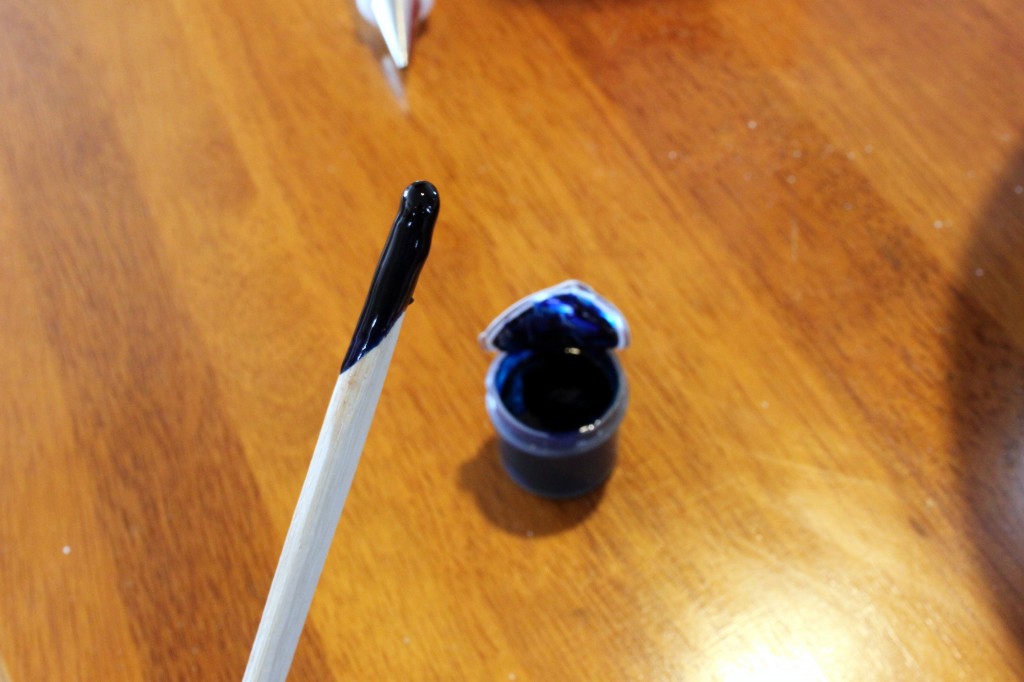
Now, you can add your color! I used a sky blue gel color. You can use a toothpick and just dip it in the gel once, the color will spread throughout your icing with just a tiny dollop. (I only had a chopstick. Ha)
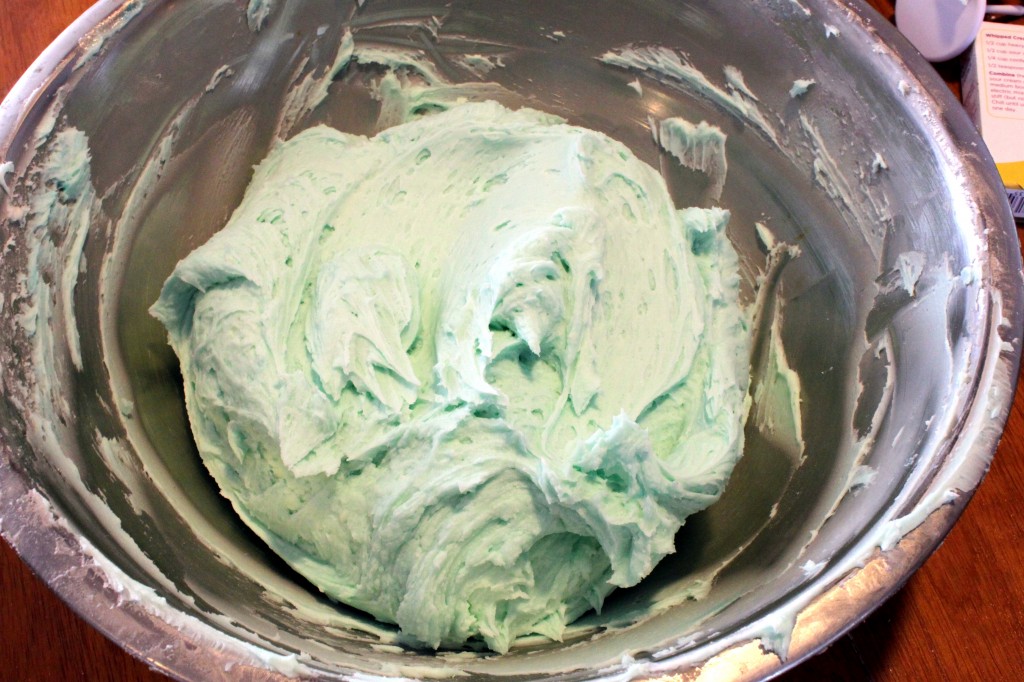
Dip your toothpick (or chopstick!) into the icing and blend it together with the electric mixer. This is what mine looked like:
Now fill your other pastry bags- not as full as I did! Fill them half way and they will be much easier to handle.
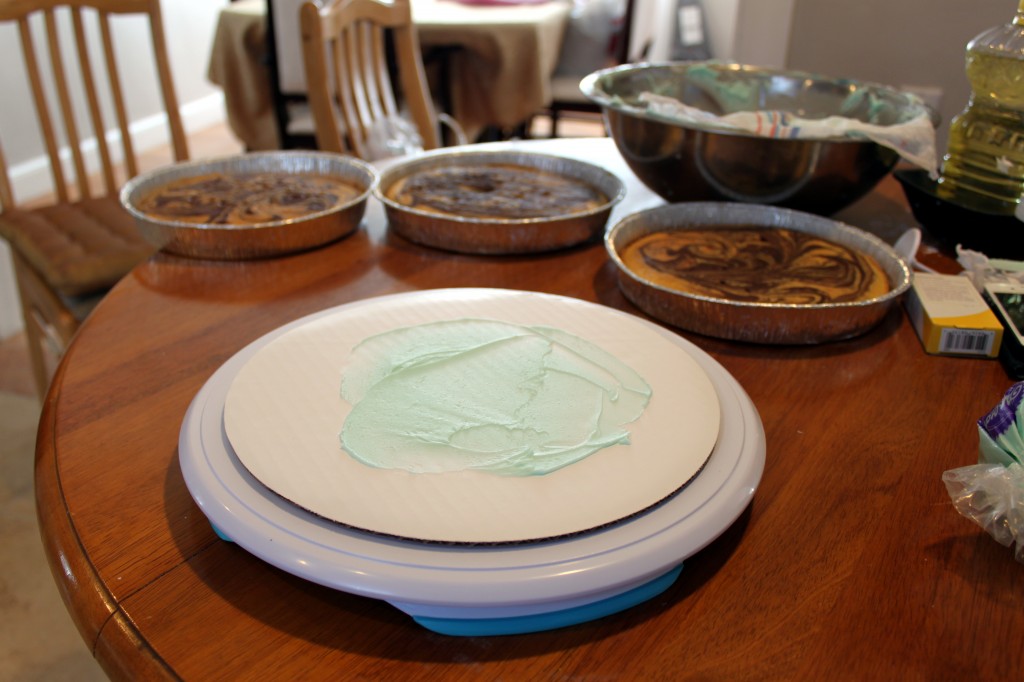
Now that your decoration icing and tools are prepared, set up your decoration station. Place the cardboard cake circle on top of the cake turntable and spread some icing on it, it glues your cake right on.
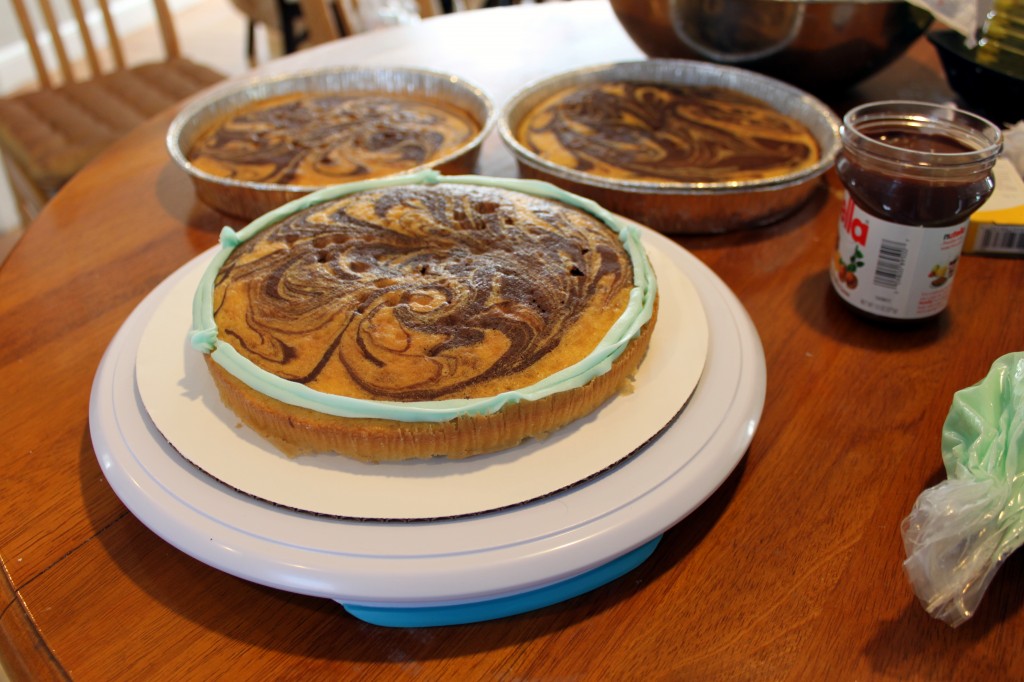
Place one of your cakes (bottom side down) onto the center of the cardboard and make a border with your icing, I used the closed star tip. This will indicate how far to spread out your filling.
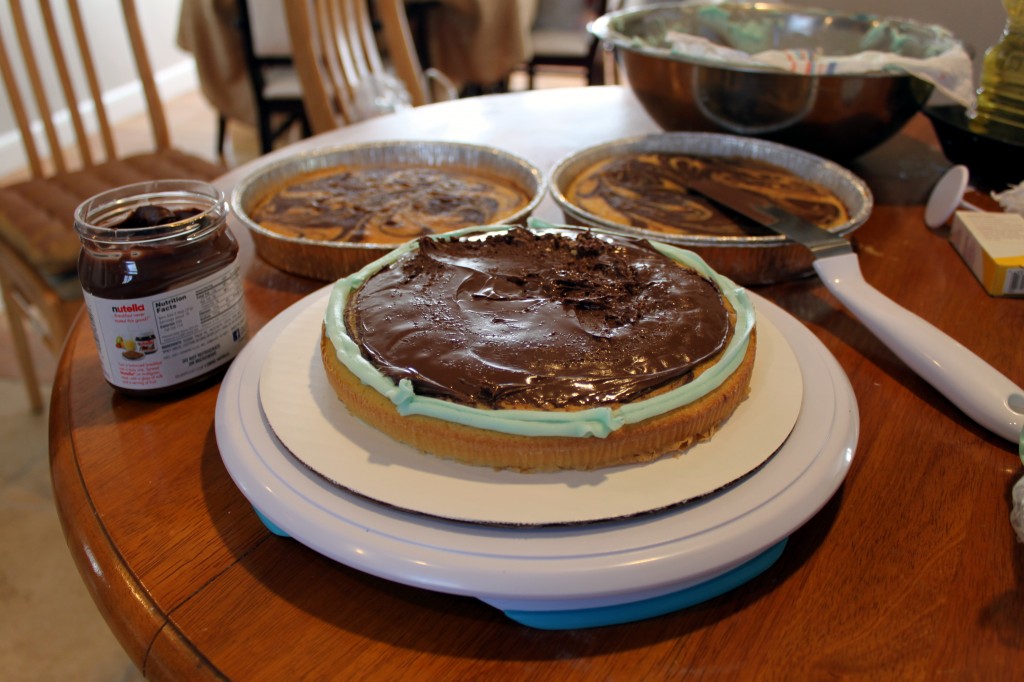
Take a heaping amount of Nutella and spread a thin layer over the cake. Lesson learned: Always use a heaping amount of icing and filling before spreading, there will be less crumbs and cake breakage.
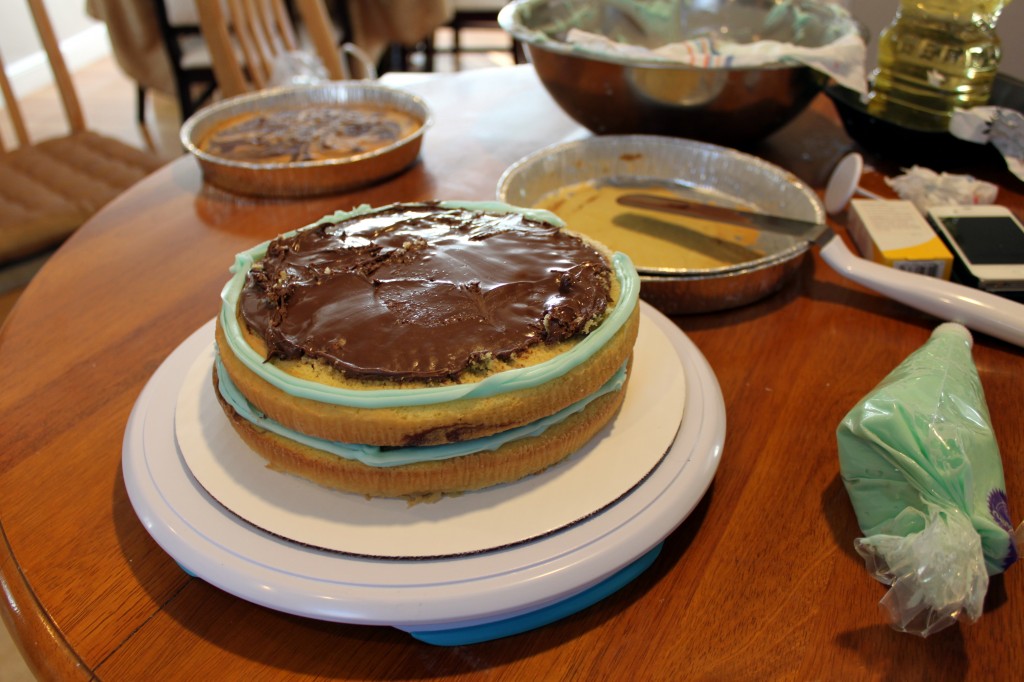
Do the same thing with the second layer of cake, except put the flattest side face up.
After, put your last layer of cake on top with the flattest part facing up.
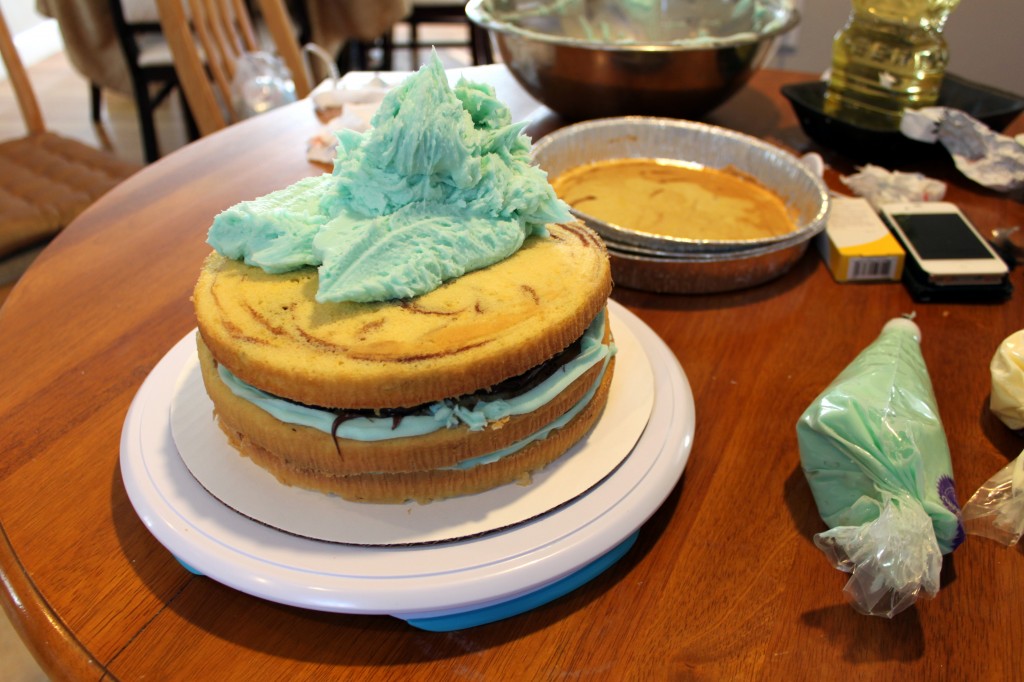
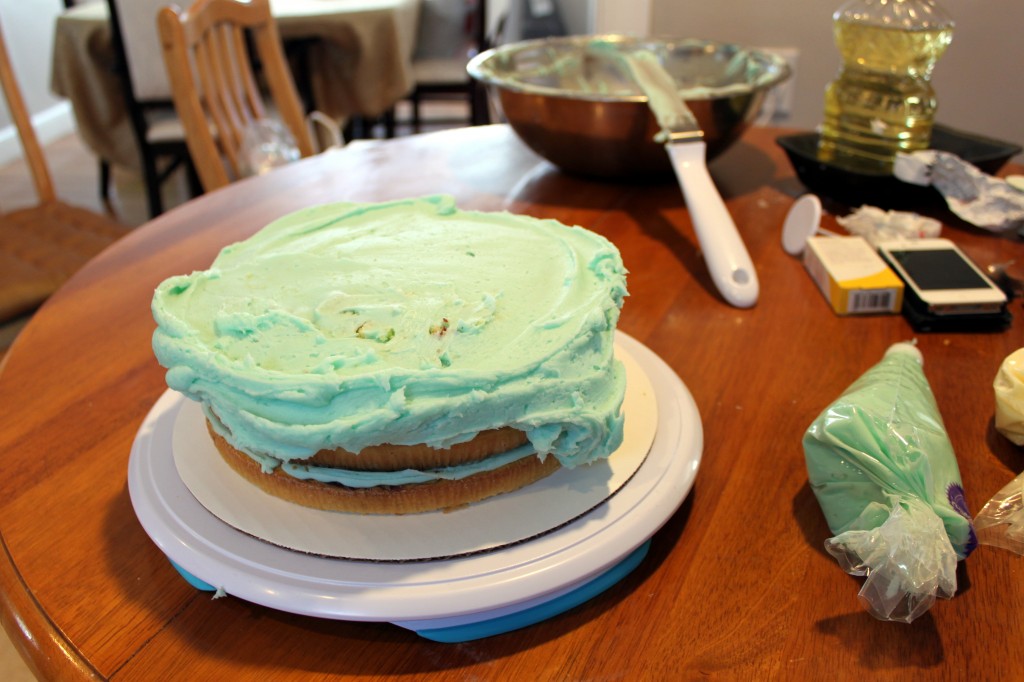
Now, “crumb coat” your cake by putting an appalling amount of icing on top. Spread the top first, try your best not to break the cake. When you spread the icing, it will start to fall over to the sides- that’s good! You will use this extra icing to ice the sides too.
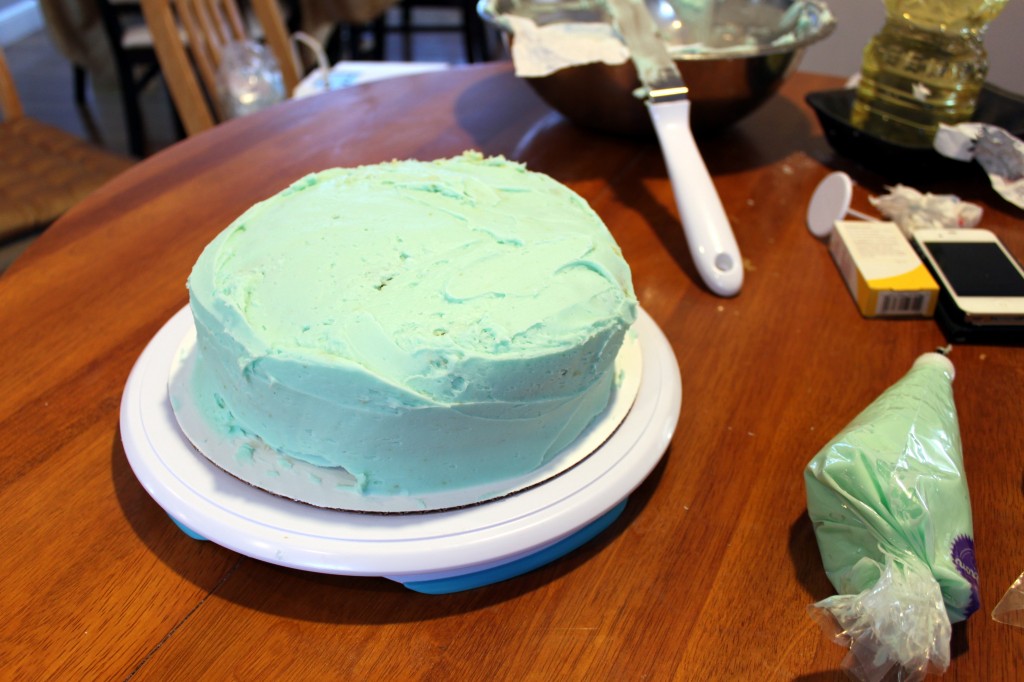
Now wrap it in love!
And voila! We just “crumb coated” our cake!
Now we are ready to decorate and drape this cake in pretty ruffles.
How to Make Ruffles with a Rose/Petal Tip:
With your rose/petal tip pastry bag, start by having your tip in a horizontal direction. We will start making ruffles on the sides first, then we will worry about the top of the cake.
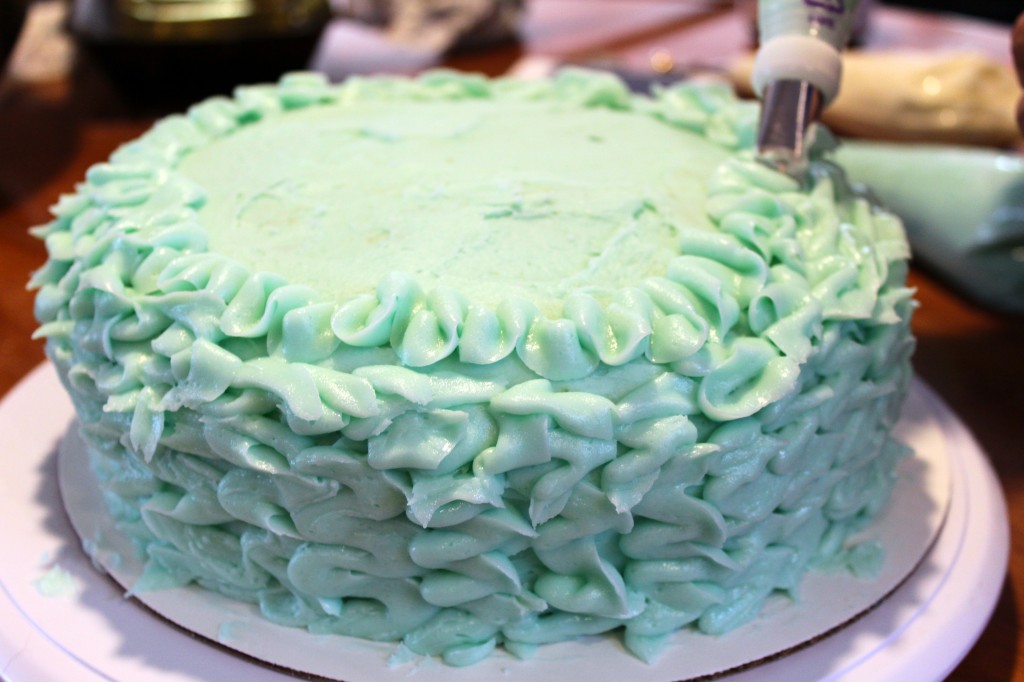
Squeeze the icing out (keep your tip horizontal so the line comes out as a ribbon), and wiggle the pastry bag left to right. Make one vertical line at a time until all of your sides are covered with ruffles.
To decorate the top of your cake, start with the perimeter of the cake and turn your cake turntable as you keep making one long wiggly ribbon. Don’t worry if it breaks a bit, just cover it up with more icing and continue until the center is covered.
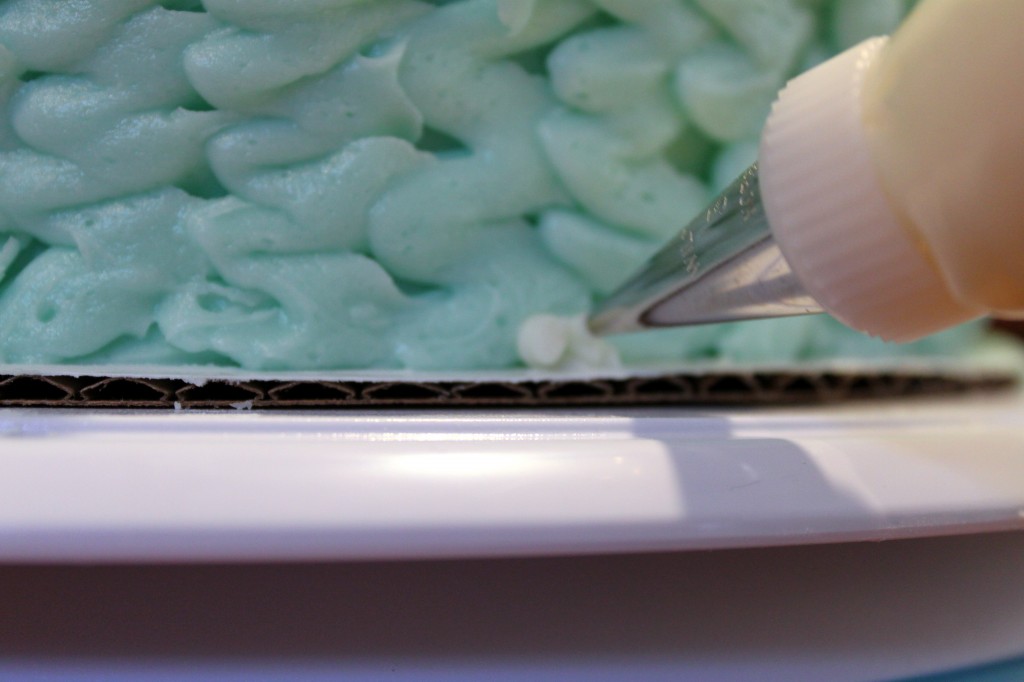
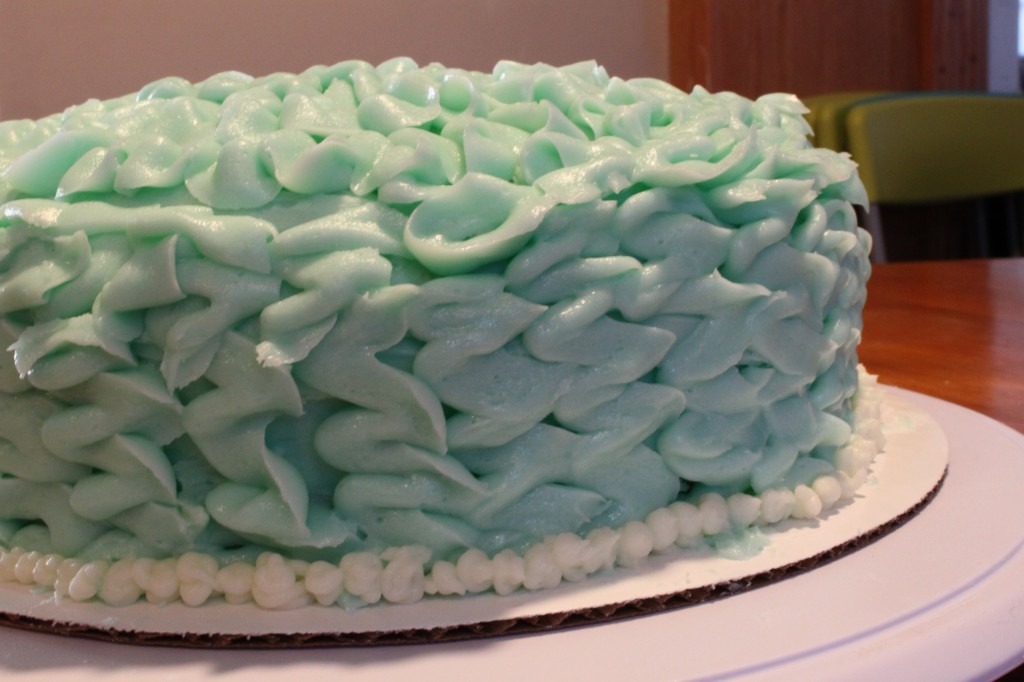
For the border, I wanted to do little pearls so I used the round tip to pipe out dots. I dotted the bottom of the cake like this:
You now have a ruffle cake!
I’m not going to lie. This took a lot of patience and I wanted to choke my pastry bag at times, but squiggly ribbon after squiggly ribbon, ruffle after ruffle, it all came together and I am quite proud.
Pastry chefs, bakers, cake decorators… I do not know how you do it. My hat goes off to you.

